Adding common resources
1. Adding a file
The file resource enables a teacher to provide a file as a course resource. Where possible, the file will be displayed within the course interface; otherwise students will be prompted to download it. The file may include supporting files, for example an HTML page may have embedded images or Flash objects.
Note that students need to have the appropriate software on their computers in order to open the file.
A file may be used
- To share presentations given in class
- To include a mini website as a course resource
- To provide draft files of certain software programs (eg Photoshop .psd) so students can edit and submit them for assessment
Adding a file
To add a file to your course:
Quick 'drag and drop' method (may not work on some browsers depending on configuration)
- Click the 'Turn editing on' button at the top right of the course page
- Drag and drop the file onto the course section where you'd like it to appear
- Once uploaded the file can moved on the page using the cross icon, the title of the file can be editing by clicking the pencil icon or edit other options by clicking the editing icon

Longer method:
- Click the 'Turn editing on' button at the top right of the course page
- Click 'Add an activity or resource' link
- Select 'File' then click the Add button
- Enter a link name and a description (description is optional)
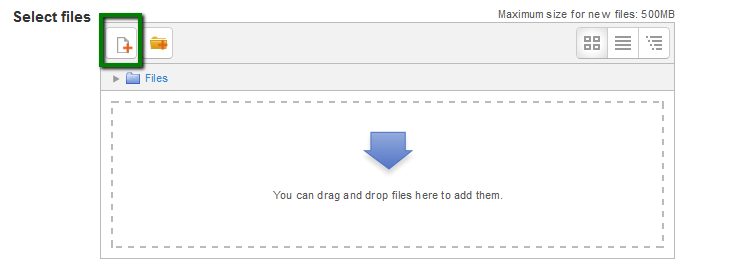
- Either drag and drop a file into the box or click the file icon with a red plus symbol to open the File picker menu in order to choose a file from your computer or a repository

- Select appearance options as required
- Click the button 'Save and display' or 'Save and return to course'
Background Colour
Font Face
Font Kerning
Font Size
Image Visibility
Letter Spacing
Line Height
Link Highlight
Text Colour